Once I had a form that looked like a bottle I selected all the faces and extruded once more to add thickness to the bottle. Then I went to hypershade and used "mia material" on the bottle, I increased the refraction and messed around with the settings until I got something that looked like a glass texture. Then I goggled a poison label; I would have made my own label but I didn't have much time so I decided to use some stock labels.

Then I started setting up a lighting scene, I created 3 planes, one was used for the floor and the rest were used as walls. I wanted soft shadows and a HDRI to light the scene, So I went to the render settings and enabled ray tracing shadows, final gather, global illumination this was so the render would look realistic.
I didn't really know how to make liquid in maya so I looked around for tutorials but all the tutorials either took too long or didn't really used liquid, it was more of "shaping polygons into the shape of a liquid", I did find something called "Glu3d" for maya which created liquid using GPU render but I was unable to getting it working on maya 2013.

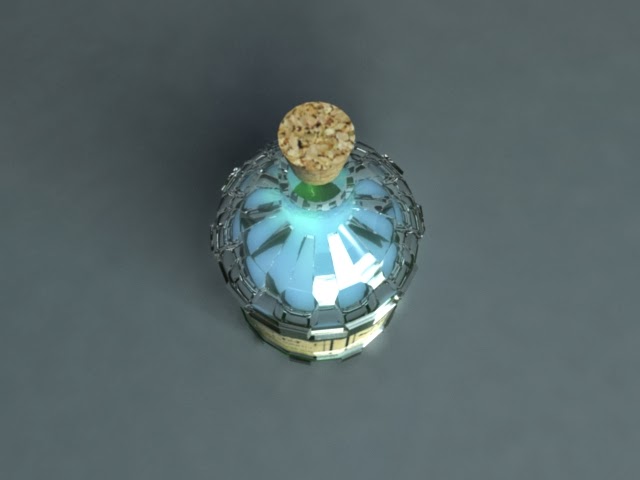
Here is the final result.

No comments:
Post a Comment