Saturday 12 April 2014

Komodo Dragon Animation


Above is the animation I did for the Komodo dragon, if you couldn't tell it's just opening it's mouth to devour something...

Making of the animation;
I moved the model from Mudbox by obj format again and I exported normal maps out, you can see below what I clicked on to extract the maps.
[Image]
After a lot of trial and error I learnt that since I added the claws and eyes in Mudbox, it kept messing the UVs up when I render the maps and they weren't being projected properly onto the model.

After getting the maps rendered and working I used a blinn material, then I clicked onto bump mapping and then chose file and selected the normal maps that I rendered earlier in PSD format. This made the model have the same amount of detail, it doesn't actually change the geometry it's just a stimulation of sorts, that makes the surface look dynamic and 3D. I also had the paint maps from mudbox and since the model has UV it all just fit perfectly on the blinn material.

After getting that set-up all I had to do was add the bones, I used the join tool to add 4 joints; 2 at the bottom, 1 in the neck and 1 in on the top of the mouth, I used this placement after trail and error and looking at the mood board. Then I just went under skin and clicked on smooth bind. This just made it more natural.
then I created an IK handle for the joints and basically set a key frame at the beginning and moved the slider and changed the IK handle position and set another key frame then moved the IK handle back to the original place and created another key frame.

Thursday 10 April 2014

3D renders after mudbox


Mudbox Detailing

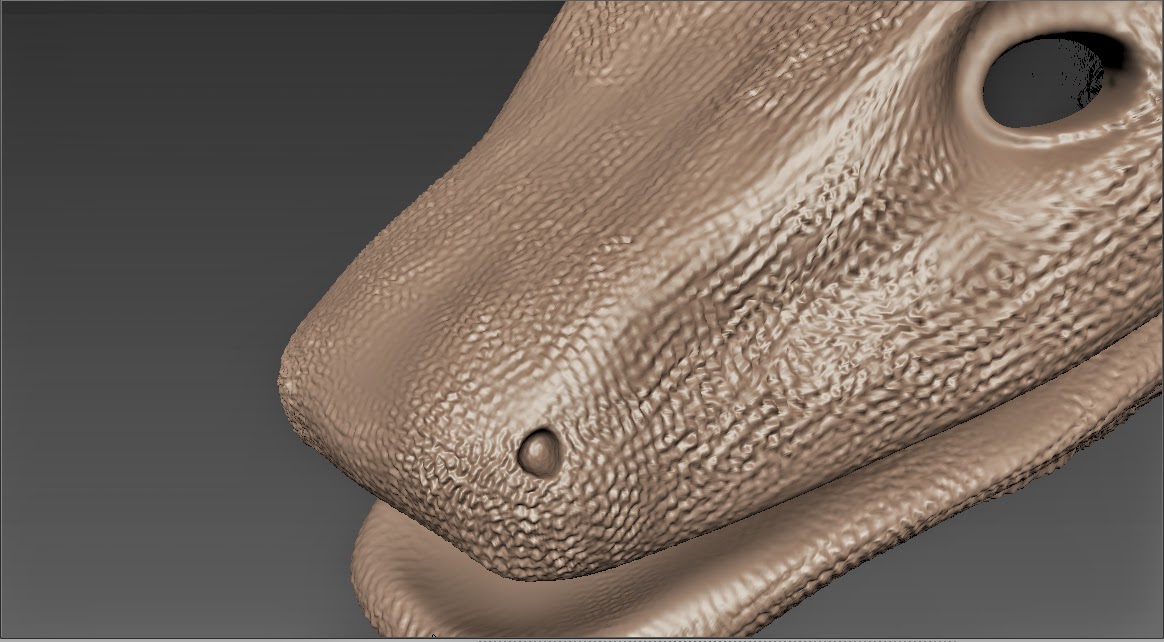
 I imported the model from Maya to Mudbox via obj format, and I went onto pixel logic's website to download dragon scale alphas which I'll use as a stamp and stencil. After finding an alpha that resembles the scales of the Komodo dragon I got to adding the detail with the sculpt brush and repeat brush, I started of with the hear, I looked at my reference images to see where the scales were densely packed. Different Komodo dragons had different scale density so I choose to place the scales according to one of the images.
I shaped up the fingers and the the feet for the nails to be placed and I used the foamy brush for this with crtl key held down to push the geometry back. Also I added bigger scales compared to the face because that's what I saw in the reference images. I flattened the edge of the fingers so you could plant the nails in and then bring the mesh out and over the nails.
Then I used the foamy brush to add the wrinkles around the neck and the legs, also in my reference images I could see that the mouth sack also has wrinkles. I also noticed that one of the wrinkles ran across the body and it kinda of defined the softer skin underneath the stomach.
In the picture above you can see the where the wrinkles are under the skin, I could have added more wrinkles to it but I didn't because in the reference images I can see that whe the komodo moves the wrinkles shift around.
I added the eyes next and the nails; I did this in mudbox since I didn't really have the time to take it back, to maya and start the process again. I took the model into maya and then placed the eye balls and the nails in the proper position and then deleted the mesh for the model, then I moved the eyes and the nails from Maya by exporting as obj; which then got imported and shaped up properly by adding more subdivisions and making them concave.
I then decided to paint the dragon in Mudbox, So I selected the paint brush and created a tiff layer and started paint, can't really say much about this process other than I kept chaning colours until I saw something suitable and I painted a lighter tone on the stomach.